Classic Macaroni and Cheese (Stovetop + Baked, Creamy Homemade)
Classic Macaroni and Cheese — Overview
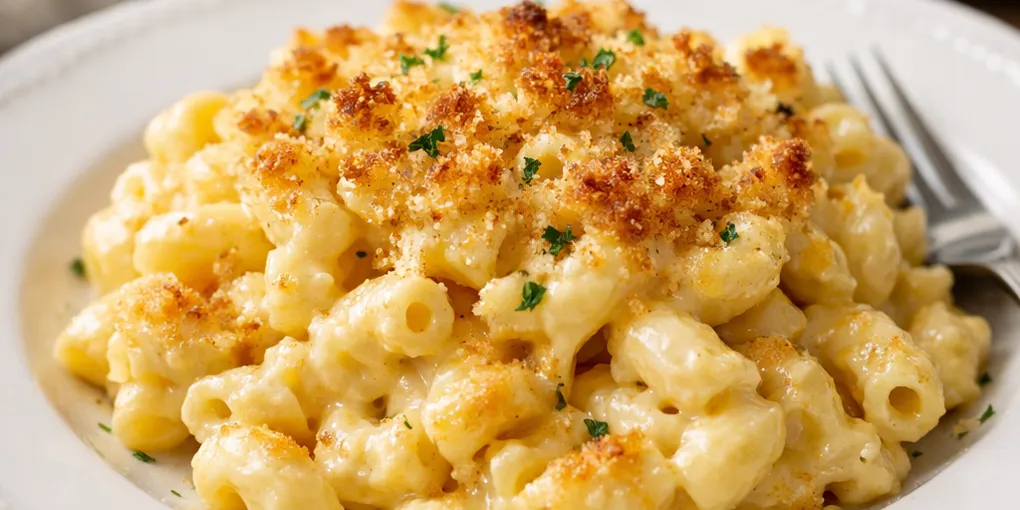
A reliable, everyday comfort dish: creamy cheese sauce clings to tender pasta, with an optional crisp breadcrumb topping for baking. This recipe gives a quick stovetop version for weeknights and an easy baked finish if you want a golden crust. Uses common ingredients and scales up easily for a crowd.
Ingredients
Yields 4–6 servings.
- 8 oz (225 g) elbow macaroni or other short pasta
- 3 tbsp (42 g) unsalted butter
- 3 tbsp (24 g) all-purpose flour
- 2 cups (480 ml) whole milk, warmed (see notes for lighter milk)
- 1 cup (240 ml) half-and-half or cream (optional for extra creaminess)
- 3 cups (about 12 oz / 340 g) sharp cheddar, shredded
- 1 cup (about 4 oz / 115 g) Gruyère or fontina, shredded (optional)
- 1 tsp Dijon mustard or 1/2 tsp dry mustard powder
- 1/2 tsp fine salt, plus more to taste
- 1/4 tsp freshly ground black pepper
- 1/4 tsp smoked paprika or regular paprika (optional)
- 1/2 cup panko breadcrumbs (for baked topping; optional)
- 1 tbsp (14 g) butter, melted (for mixing with breadcrumbs)
- Pinch of cayenne or hot sauce (optional)
Tools
- Large pot for pasta
- Medium saucepan for sauce
- Whisk and wooden spoon
- Baking dish (8×8 in / 20×20 cm or similar) if baking
- Oven (for baked version)
Step-by-step Instructions
1) Cook the pasta
- Bring a large pot of salted water to a boil. Use about 1 tbsp salt per 4 liters of water.
- Add pasta and cook until just shy of al dente, about 8–10 minutes depending on the pasta — it will finish cooking in the sauce.
- Reserve 1/2 cup (120 ml) pasta cooking water, then drain the pasta and set aside.
2) Make the béchamel base (roux + milk)
- In a medium saucepan over medium heat, melt 3 tbsp butter.
- Add the flour and whisk constantly for 1–2 minutes until the mixture smells slightly toasty and turns a pale golden color — this cooks out the raw flour taste.
- Gradually whisk in the warmed milk and half-and-half, a little at a time, until smooth.
- Continue to cook, whisking often, until the sauce thickens enough to coat the back of a spoon — 4–6 minutes. Lower heat if it starts to bubble too vigorously.
3) Finish the cheese sauce
- Remove the sauce from heat. Whisk in the Dijon mustard, salt, pepper, and paprika.
- Add the shredded cheeses in batches, stirring until melted and the sauce is smooth. If the sauce is too thick, whisk in up to 1/2 cup reserved pasta water to loosen it.
- Taste and adjust seasoning — a pinch more salt or a dash of cayenne/hot sauce brightens the flavor.
4) Combine pasta and sauce
- Add drained pasta to the sauce and gently fold until every piece is coated.
- At this point you can:
- Serve immediately for a creamy stovetop mac and cheese.
- Or proceed to bake for a crisp top.
5) Optional — Bake for a golden crust
- Preheat the oven to 375°F (190°C).
- Transfer the sauced pasta to a buttered 8×8-inch (20×20 cm) baking dish.
- Mix panko breadcrumbs with 1 tbsp melted butter and sprinkle evenly over the pasta. For extra flavor, add a little grated Parmesan to the crumbs.
- Bake 15–20 minutes until bubbling and the top is golden. For more browning, broil 1–2 minutes, watching closely.
Tips and Variations
Cheeses
- Sharp cheddar gives classic flavor. Mix with Gruyère or fontina for a silkier texture and nuttier notes.
- Avoid pre-shredded cheeses if possible — they often contain anti-caking agents that prevent smooth melting.
Texture and richness
- For a lighter version, use 2% milk and skip the half-and-half; the sauce will be less rich but still delicious.
- For extra creaminess, add 2–3 oz (60–85 g) cream cheese at the end, whisking until smooth.
Add-ins
- Stir in cooked bacon, diced ham, shredded rotisserie chicken, or cooked vegetables (peas, broccoli) before baking.
- Fold in a spoonful of sriracha or a sprinkle of smoked paprika for a smoky kick.
Make-ahead & storage
- Assemble and refrigerate baked mac and cheese up to 24 hours before baking. Add 10–15 minutes to baking time if straight from the fridge.
- Store leftovers in an airtight container for up to 3–4 days. Reheat gently on the stovetop with a splash of milk, or in a 350°F (175°C) oven covered with foil until warmed through.
Gluten-free option
- Use a 1:1 gluten-free flour blend or cornstarch slurry (1 tbsp cornstarch whisked into 2 tbsp cold milk) to thicken the sauce. Use gluten-free pasta.
Quick Troubleshooting
- Sauce is grainy or separated: Heat may have been too high when melting cheese. Remove from heat and whisk in a splash of warm milk or cream to smooth it out.
- Sauce too thin: Simmer gently to reduce and thicken, or whisk in 1 tsp cornstarch mixed with 1 tbsp cold water and simmer until thickened.
- Sauce too thick: Stir in reserved pasta water a little at a time until desired consistency.
Serving Suggestions
- Serve straight from the pot for a cozy weeknight dinner with a simple green salad.
- For a heartier meal, pair with roasted vegetables or grilled chicken.
Enjoy this classic, satisfying mac and cheese — straightforward to make and endlessly adaptable for weeknights or company.