Vertical Board Vault — Convert a File Organizer into a Space-Saving Board & Lid Rack
What this hack does — instant vertical storage for boards, sheets and lids
If your cabinets are a messy stack of cutting boards, baking sheets and pan lids, you waste time wrestling to get the item you need. Mounting a vertical file organizer inside a cabinet or on an unused wall converts wasted vertical space into an organized, easy-access rack. It keeps items upright, protected and visible — no more leaning stacks that scratch and topple.
What you need
Basic materials
- 1 metal or heavy-duty plastic vertical file organizer (single or multi-slot, depending on capacity)
- Non-slip shelf liner or thin silicone pads
- Self-adhesive felt strips or foam tape
- Screws and wall anchors or strong removable mounting strips (depending on location)
- Drill and screwdriver (or adhesive cleaner for strip surfaces)
Optional
- Rubber bumpers for cabinet bottom
- Small labels or painter’s tape for slot identification
Step-by-step installation (inside a cabinet)
Step 1 — Measure first
- Measure the interior height, depth and width of the cabinet space you want to use.
- Choose a file organizer that leaves 1–2 inches of clearance front-to-back so cabinet doors close easily.
Step 2 — Prepare the organizer
- Line the bottom of each slot with a strip of non-slip shelf liner cut to width so boards don’t slide.
- Add self-adhesive felt strips or thin foam tape along the edges of each slot to protect boards and lids from scratches.
Step 3 — Position the organizer
- Place the organizer inside the cabinet where it sits flat and leaves clearance for the door.
- If mounting to the cabinet side or back, mark screw locations through pre-drilled holes in the organizer or on its base.
Step 4 — Mount securely
- For permanent install: pre-drill pilot holes and use screws with appropriate anchors to fasten the organizer to the cabinet back or side.
- For renters or temporary use: use heavy-duty removable mounting strips rated for the organizer’s weight — press firmly for the recommended time.
Step 5 — Load and test
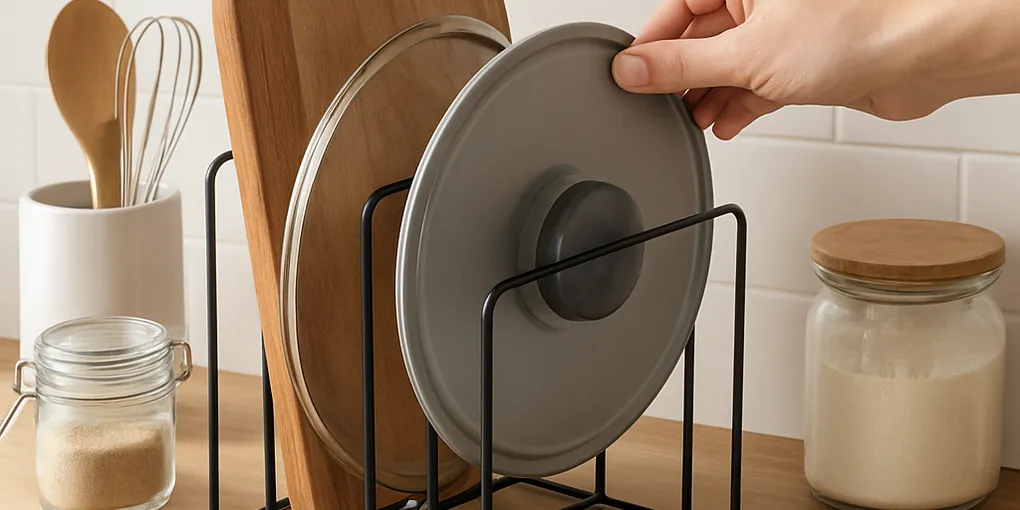
- Insert cutting boards, baking sheets, cooling racks and pot lids vertically — largest items at the back, frequently used at the front.
- Open and close the cabinet door to test clearance and make small adjustments if necessary.
Tips & variations
Use multiple organizers
- For shallow cabinets, use a slim single-slot organizer for lids only. For wider cabinets, place two organizers side by side — one for boards, one for baking sheets and trays.
Protect thin items
- Add thin silicone strips to cushion thin bamboo boards or glass baking dishes that can chip when banged together.
Convert an unused wall
- Mount the organizer on the inside of a pantry door or an unused wall in the pantry for instant, accessible vertical storage.
Label slots
- If you share the kitchen, label slots with item types — “Cutting Boards,” “Baking Sheets,” “Lids” — so everyone returns things to the right spot.
Maintenance and longevity
Weekly
- Wipe down organizer and liner to remove crumbs and moisture.
Monthly
- Check adhesive strips and felt padding — replace if compressed or coming loose.
Long-term
- If boards lean or stick, reseat liners and felt, and adjust mounting points so weight distributes evenly.
Why it’s worth it
- Saves horizontal cabinet space and keeps surfaces clear.
- Reduces scratches, improves airflow around wooden boards and prevents trapped moisture.
- Makes retrieval one-handed and fast — a small reconfiguration with big daily payoff.