Map Your Fridge’s Cold Zones to Double Food Freshness
Why this hack works
Fridges are not uniformly cold. Temperature differences—front to back, top to bottom, door to shelf—can be several degrees. Storing food according to the actual temperature where it sits prevents premature spoilage, reduces freezer trips, and saves money. Mapping your fridge’s cold zones takes about an hour of setup and a day of passive measuring, then gives you months of smarter storage.
What you need
- 2–4 inexpensive fridge thermometers (digital probe or stick-on)
- Masking tape or removable adhesive labels
- A marker and a phone to take photos
- Optional: small sticky notes for temporary labels
Recommended thermometer types:
- Probe digital (reads temperature accurately at the spot)
- Stick-on thermometer strips (cheap and easy for multiple spots)
Step-by-step: map your fridge in 48 hours
-
Clean and clear the fridge surface
- Remove loose items from shelves so thermometers sit flat and won’t be pushed against a wall or door.
-
Place thermometers strategically
- Top shelf, center front.
- Middle shelf, back (against rear wall).
- Bottom shelf, back (lowest point).
- Inside crisper drawer (if possible) or the drawer surface.
- Door shelf (optional, for a quick warm spot check).
- Leave at least 2–3 inches space around each probe so air circulates.
-
Run two full day–night cycles
- Close the door and avoid heavy loading/unloading for 24–48 hours so the fridge runs through normal cycles.
- If you open the door often, try to minimize activity during the measurement period.
-
Record and label temperatures
- After 24–48 hours, read each thermometer and record results.
- Label each shelf/area with its measured temperature using tape and marker. Take a photo for reference on your phone.
Interpreting results — what the numbers mean
- Ideal fridge temperature overall: 0–4 °C (32–40 °F)
- Coldest zones: ~0–2 °C (32–36 °F) — best for raw meat and fish
- Mid zones: ~2–4 °C (36–39 °F) — dairy, eggs, soft cheeses
- Warmest zones: ~4–7 °C (39–45 °F) — ready-to-eat leftovers, condiments, door shelves
If any spot is consistently above 7 °C (45 °F), reposition commonly stored perishable food and consider servicing the fridge.
Reorganize your fridge based on the map
- Bottom back (coldest): Raw meat, fish — keep in a leak-proof container on a tray.
- Middle shelves (middle temps): Dairy, eggs, yogurt, soft cheeses.
- Upper shelves (slightly warmer): Cooked meals, meal-prep containers, opened deli meats that will be eaten soon.
- Crisper drawers: Use humidity settings — high humidity for leafy greens, low for most fruits.
- Door shelves (warmest): Condiments, juices, oils — not for perishable dairy or eggs.
Quick storage tips that multiply the benefit
- Keep raw meat below ready-to-eat foods to avoid drips and cross-contamination.
- Use clear containers so items aren’t forgotten at the back of the coldest shelf.
- Store frequently used items in an accessible shelf that suits their temperature need.
- Use shallow containers for leftovers so they cool faster and chill evenly.
Maintenance — keep the map accurate
- Re-check temperatures whenever you change the fridge layout or after large loads.
- Re-map seasonally or after service calls — fridge performance can change.
- If fridge temp varies wildly when the door is opened, consider adjusting your habits (batch retrieving items, using boxes to group foods) to minimize temperature swings.
Bonus life hack: label once, save forever
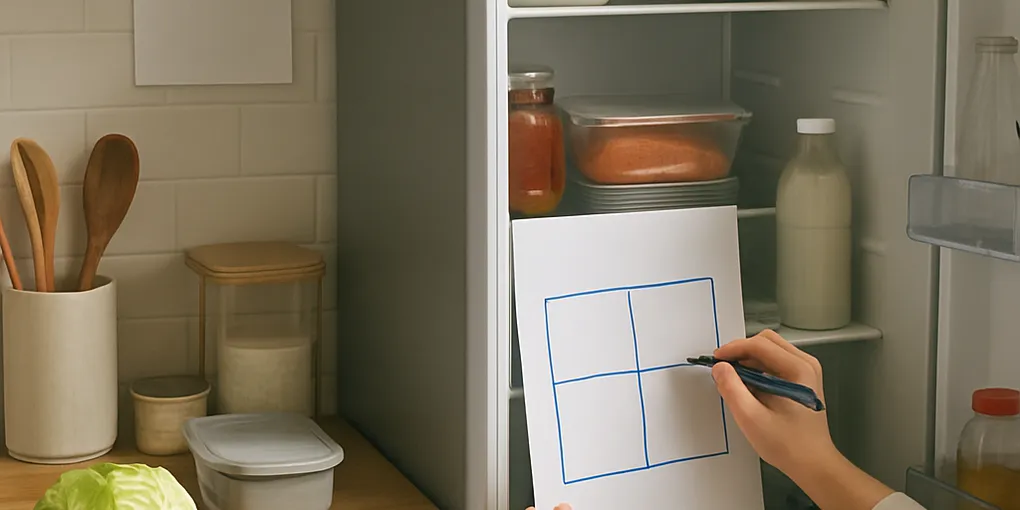
Place a small laminated label on the fridge interior or a photo taped inside the door showing which shelf stores what. Guests and household members will follow the system without second-guessing, dramatically reducing spoilage and food waste.
Fast summary (one-minute action)
- Put 2–4 thermometers in key spots.
- Wait 24–48 hours.
- Label shelves by measured temps.
- Move raw meat to the coldest back bottom, dairy to mid shelves, leftovers up top, and condiments in the door.
Do this once and you’ll know exactly where each item stays freshest—less spoilage, fewer trips to the store, and a calmer, smarter kitchen.